Installing LAMP stack in fedora 17 step by step [ how to ]

Prerequisites :
- Fedora installation
- working internet connection
- little terminal friendly and 20-30 minutes ( max)
<h3>
  Steps : <a name="more"></a>
</h3>1 : Installing apache
<div>
  <pre class="codesBash">[root@local ~]# yum install httpd</pre>
</div>

<p>
  Start Apche :
</p>

<pre class="codesBash"> systemctl start httpd.service</pre>

<p>
  Default document root is : <span style="background-color: #cccccc;">/var/www/html </span>
</p>open browser and browse : http://localhost
2: Installing MySQL
[root@local ~]# yum install mysql mysql-server
Start MySQL service and setup to start with system startup
[root@local ~]# systemctl start mysqld.service
[root@local ~]# systemctl enable mysqld.service
Now setup Secure Installation
[root@local ~]# mysql_secure_installation
Enter current password for root (enter for none): ENTER
OK, successfully used password, moving on…
Setting the root password ensures that nobody can log into the MySQL
root user without the proper authorisation.
Set root password? [Y/n] Y
New password: ENTER YOUR PASSWORD
Re-enter new password: ENTER YOUR PASSWORD
Password updated successfully!
Reloading privilege tables..
… Success!
By default, a MySQL installation has an anonymous user, allowing anyone
to log into MySQL without having to have a user account created for
them. This is intended only for testing, and to make the installation
go a bit smoother. You should remove them before moving into a
production environment.
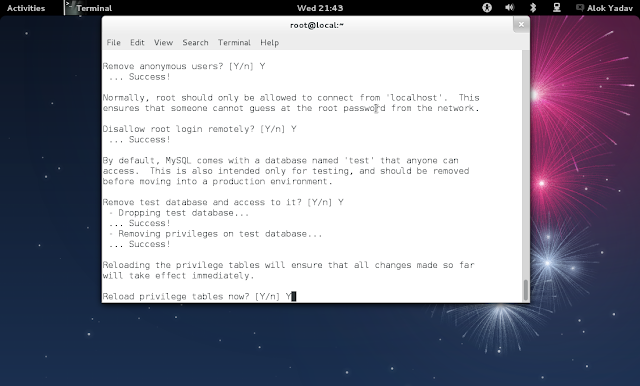
Remove anonymous users? [Y/n] Y
… Success!
Normally, root should only be allowed to connect from ‘localhost’. This
ensures that someone cannot guess at the root password from the network.
Disallow root login remotely? [Y/n] Y
… Success!
By default, MySQL comes with a database named ‘test’ that anyone can
access. This is also intended only for testing, and should be removed
before moving into a production environment.
Remove test database and access to it? [Y/n] Y
– Dropping test database…
… Success!
– Removing privileges on test database…
… Success!
Reloading the privilege tables will ensure that all changes made so far
will take effect immediately.
Reload privilege tables now? [Y/n] Y
… Success!
Cleaning up…
All done! If you’ve completed all of the above steps, your MySQL
installation should now be secure.
Thanks for using MySQL!
3: Installing PHP
[root@local ~]# yum install php
PHP MySQL Support and some addition lib’s
[root@local ~]# yum install php-mysql php-gd php-imap php-ldap php-odbc php-pear php-xml php-xmlrpc php-magickwand php-mbstring php-mcrypt php-mssql php-shout php-snmp php-soap php-tidy
after installation
restart apache :
[root@local ~]# systemctl restart httpd.service
now test php installation : create a file under /var/www/html name it info.php and write this
and browse to http://localhost/info.php
MySQL support
have a happy coding !


